Image Transfer Prints
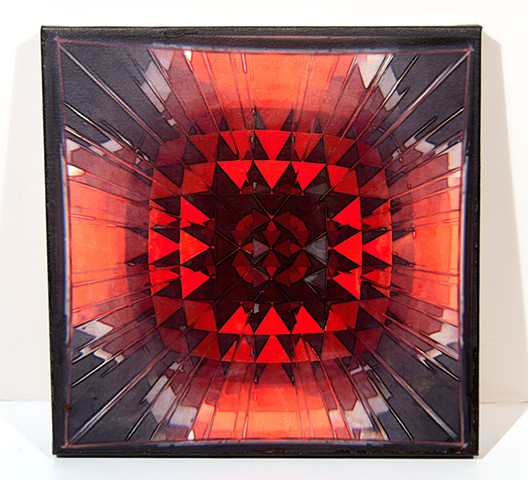
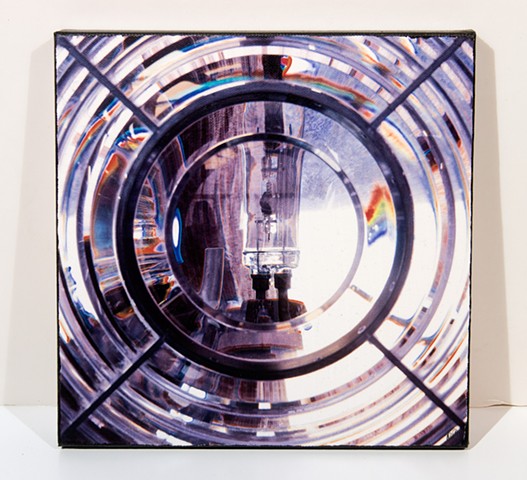
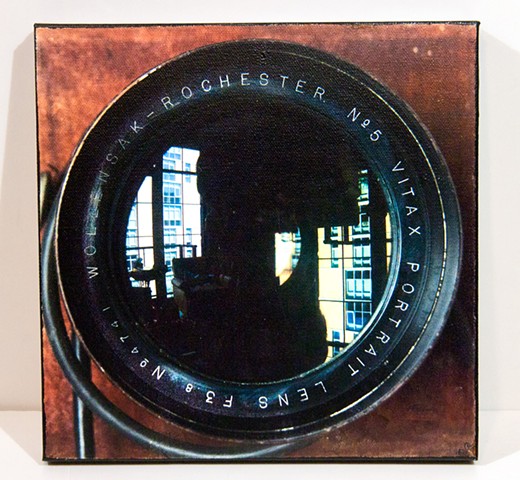
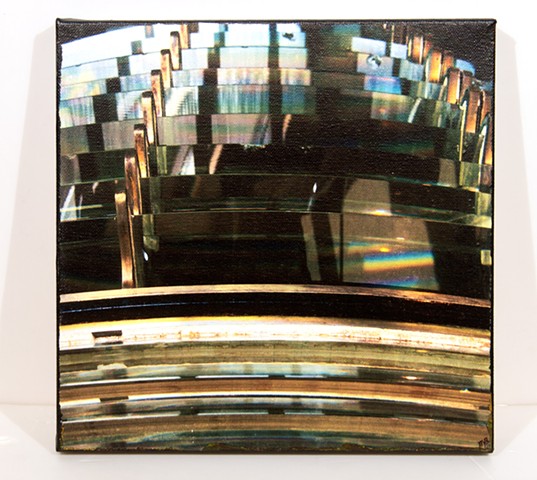
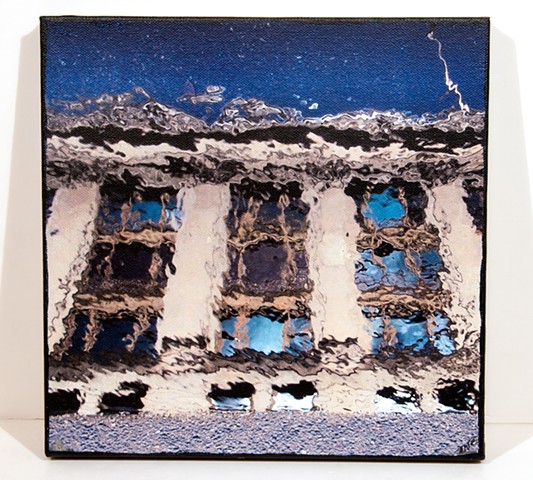
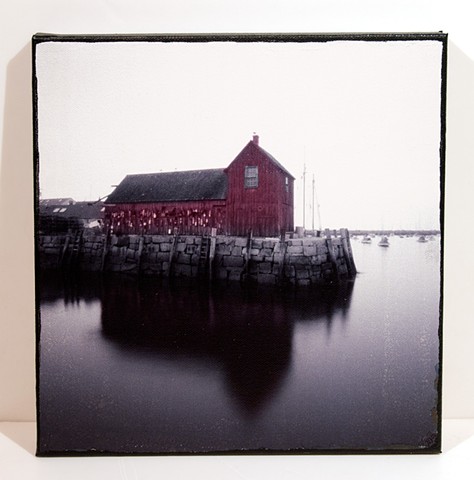
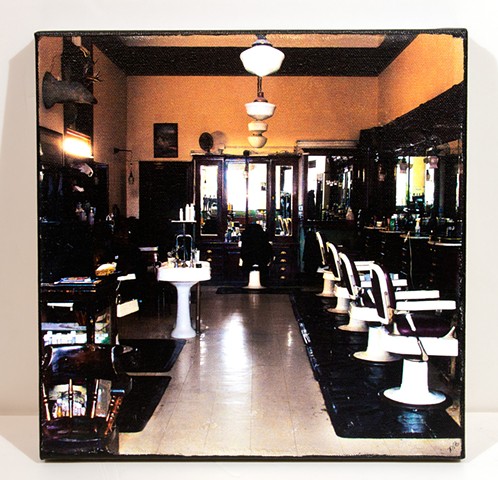
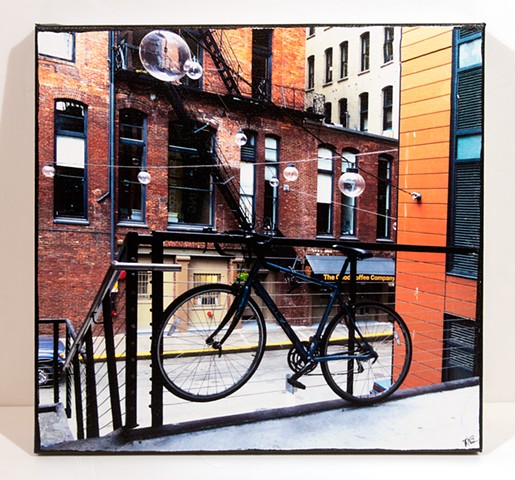
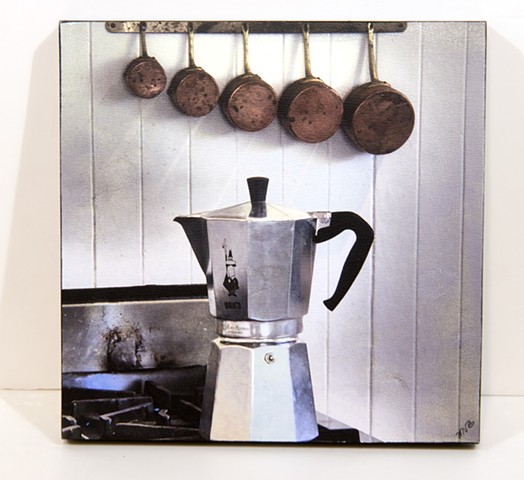
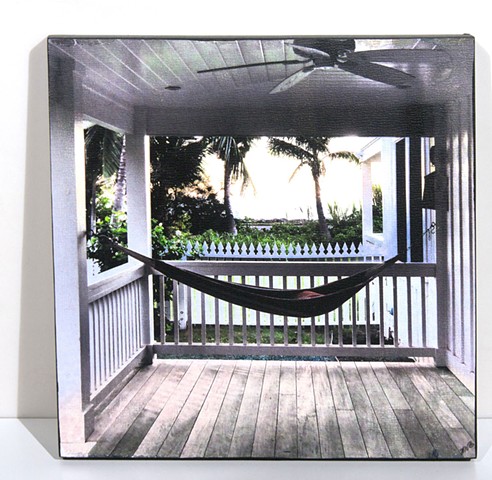
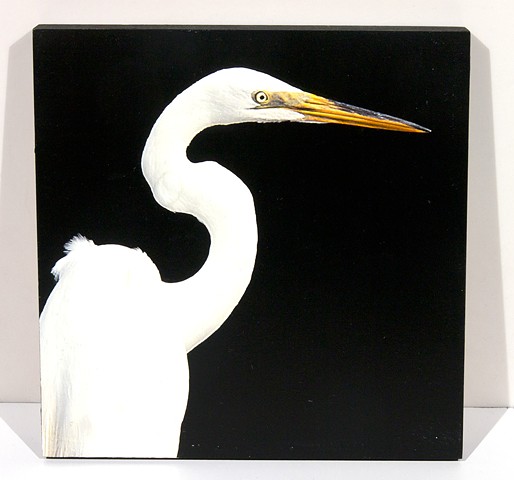
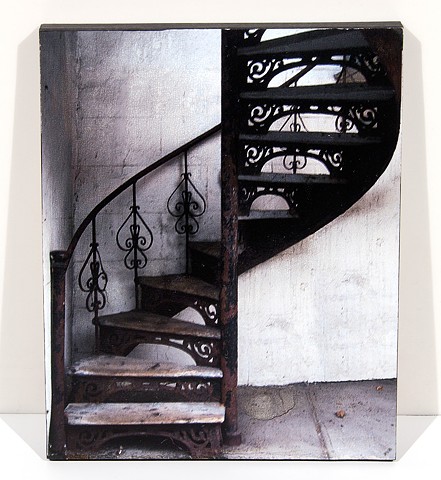
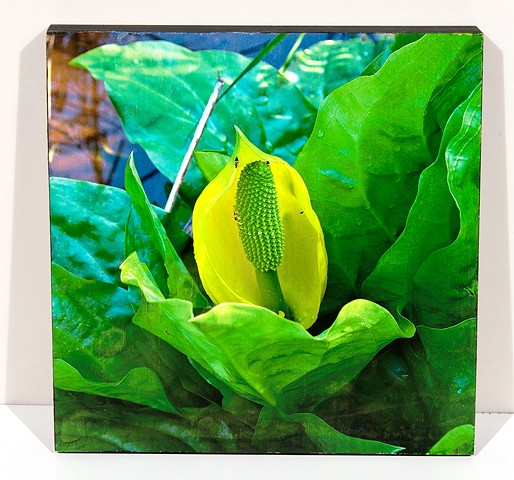
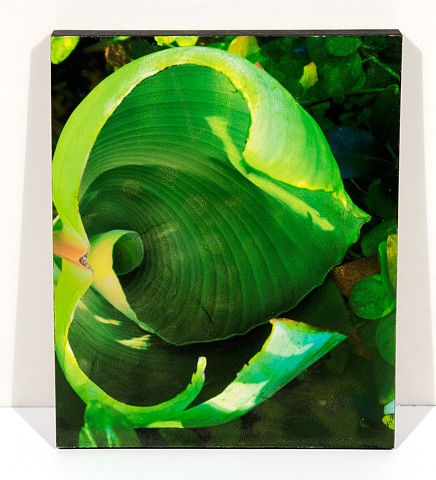
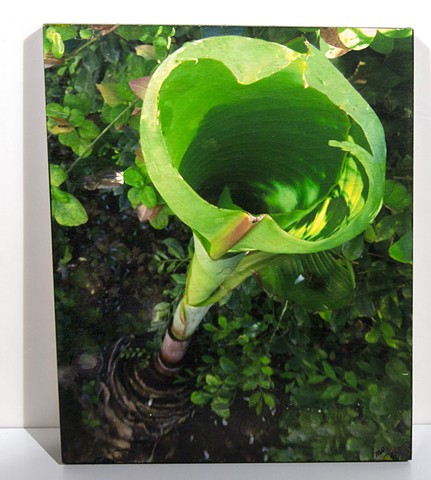

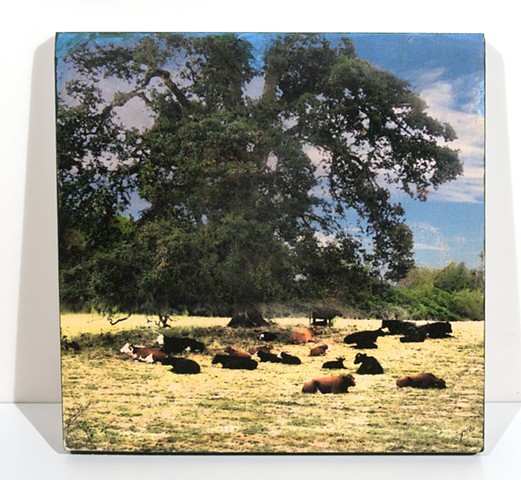
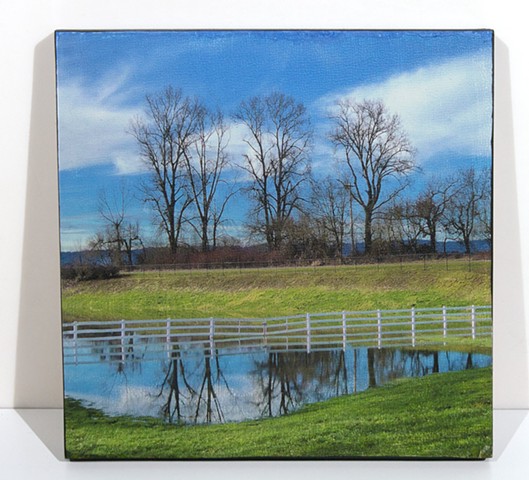
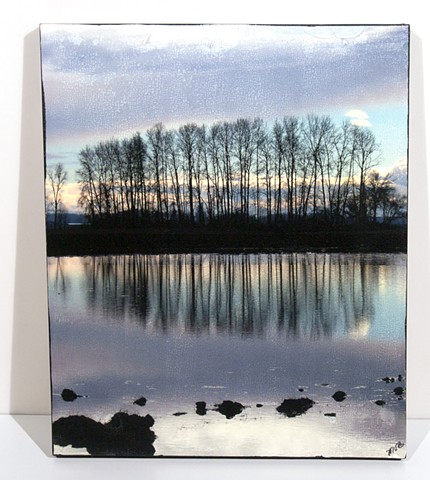

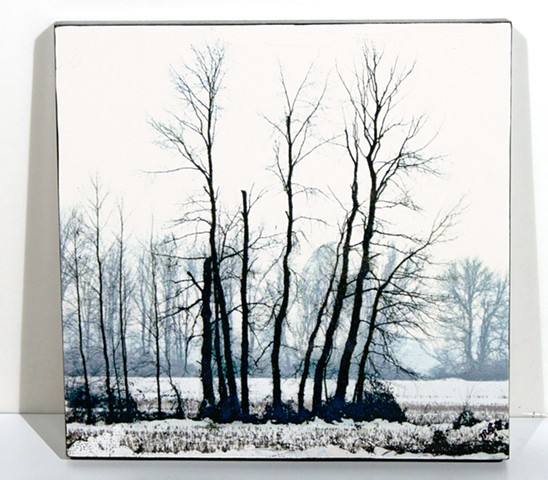
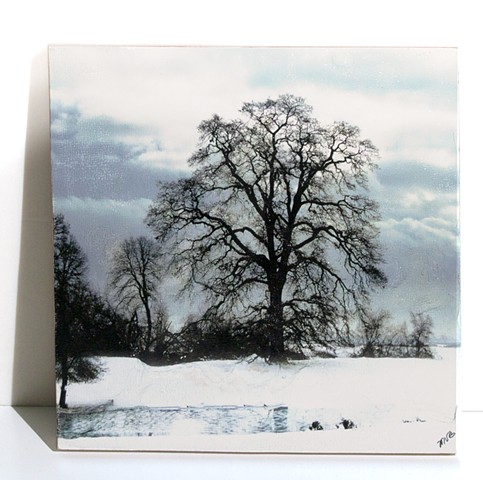

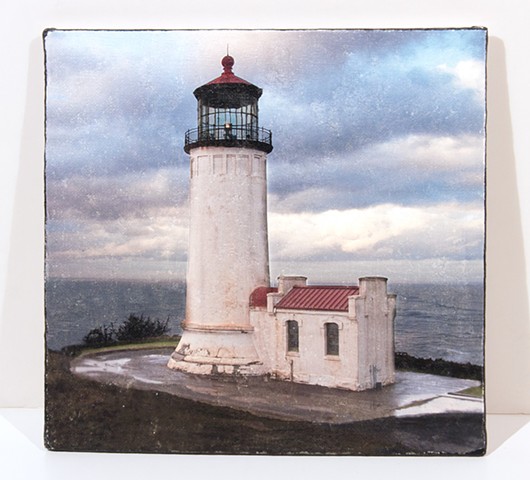

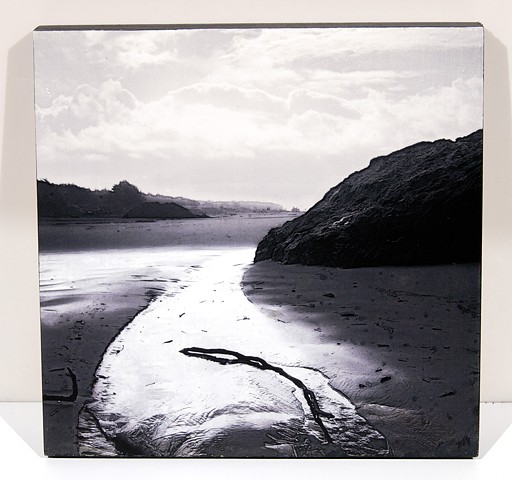
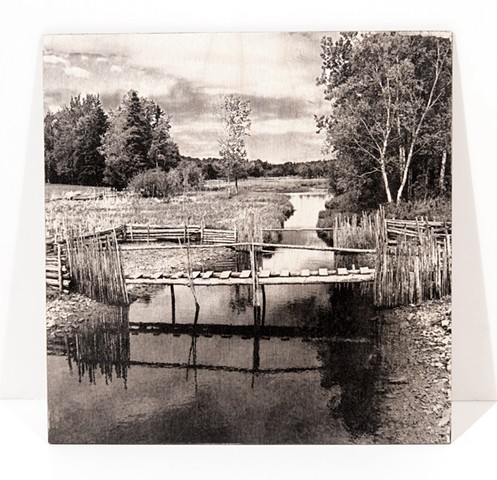
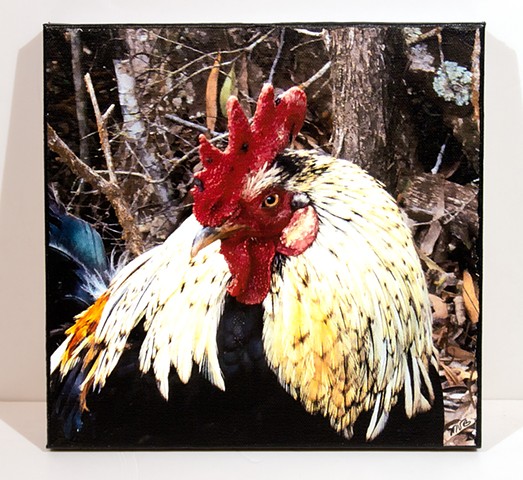
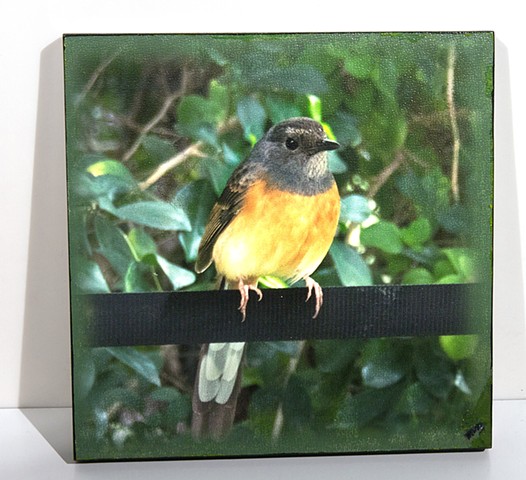
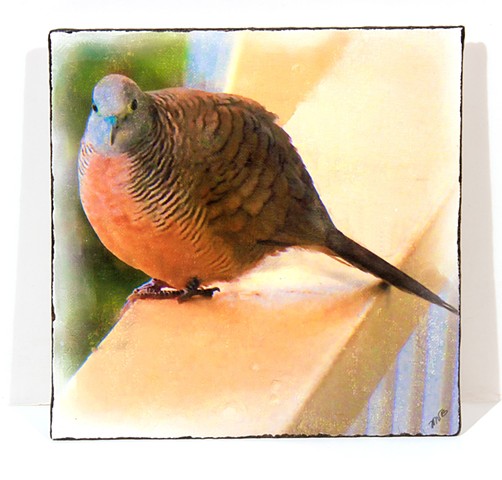
The initial steps for making a transfer print are similar to making a digital negative except that it is printed as a positive on transparent transfer film. Because there is no photo-chemical alteration of the final image to be transferred, no special adjustment curves or other digital alterations beyond the aesthetic are needed before printing the image on transfer film. Given a well calibrated system, the final print very closely matches the display screen image, within the limitations of the substrate. Because the paper white of the wood or canvas substrate may be less than a pure white, I like a reasonably contrasty image.
The method: Print a horizontally reversed (mirror image) positive image on the transfer film and allow to dry for several hours or overnight. I generally apply a white pre-coat to the substrate. I use a foam brush to apply Dassart® “Super Sauce” or InkAid® “TransferIez” transfer medium and, then, carefully apply the transfer film, image side down. After 3-4 minutes, I carefully peel away the film, leaving an intact image transferred to the substrate. After drying, I carefully touch up or fill in defects in the transfer, using color matched fluid acrylic paints, under loupe magnification. I finish the sides or edge of the piece with black or other complimentary acrylic and then finish the piece with 3-4 coats spray archival acrylic varnish. The final piece is ready to hang or otherwise display and requires no additional framing.
(Open Image, then Click Again for Best Viewing. Advance with Arrow Keys)